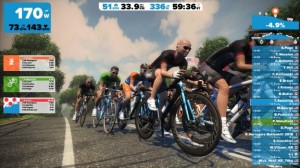
So what is this Zwift thing everyone is talking about?
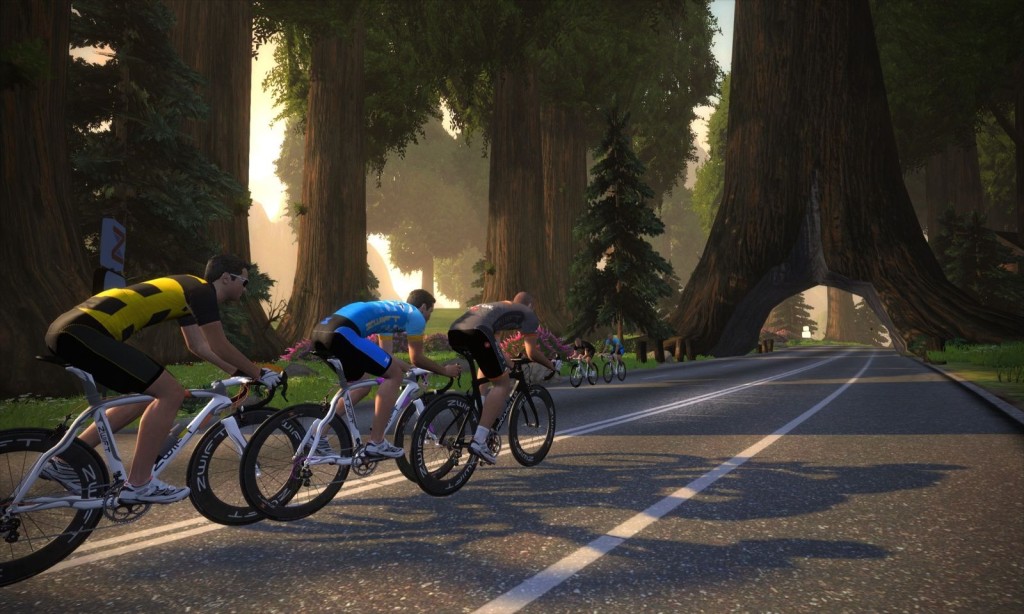
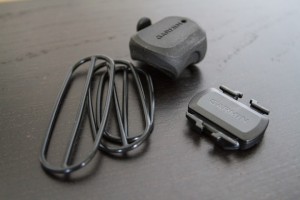
Zwift is an online, immersive, 3D gaming and fitness experience created for cyclists. Think World of Warcraft, but on bicycles, and you’re pretty close. Or maybe Grand Theft Auto is a little closer. Zwift leverages the ANT+ protocol and technology to gather data from your bike, trainer, power meter and heart rate monitor through speed, cadence and power sensors.
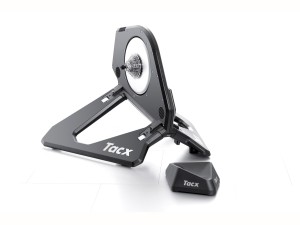
Zwift can also directly read and control “smart trainers” such as the TacX Neo, the Wahoo Kickr and the Computrainer, along with dozens of other trainers and sensors made by many vendors. These trainers have built in power meters and speed sensors which can relay data back to Zwift to make the experience more realistic.
How do I get started? What do I need?
Well, first you need a bike. Check. Then you’ll need to get some sensors on that bike so your speed, power and cadence can be measured (or estimated). Depending on how deep down the rabbit hole you want to go, this could go anywhere from $30.00/USD for a basic USB ANT+ sensor kit all the way to $1,500+/USD for the top-of-the-line direct drive trainer.
Start small, and work your way up. The investment in your health alone is going to be worth it. Here’s a basic parts list, broken down by “type” of Zwifting you’re going to want to do:
Using “zPower” – non-powered Training
- A bicycle with at least 650c/26″ or larger diameter wheels (24″ and lower wheels are untested, and many sensors won’t work with smaller wheels)
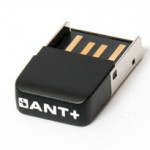
- An ANT+ adapter (you can get these from Amazon, and there are dozens of them in varying levels of quality. I’ve had very good luck with the Suunto brand of ANT+ USB adapters)
- A bike trainer that can provide some level of resistance. These are anywhere from $80 on up to $300 for the non-powered versions. Once you cross the $300 threshold, you get into the lower-end “smart trainers” that can be controlled via your PC or mobile apps. When these are non-powered trainers, they’re commonly referred to as “dumb trainers” (vs. “smart” trainers that have more power and capability)
- A PC or laptop with current level of performance running Windows or Mac OS
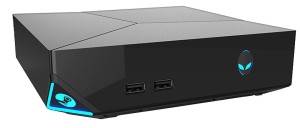 X (Linux is not supported). You don’t need to go crazy and buy the latest gaming rig nor spend thousands on a computer, but a 5+ year old Toshiba laptop with an amber backlit screen won’t cut it. This is 2015 and Zwift is a 3D game, so you’ll need enough hardware to run it. The Alienware Alpha brand of laptops and PCs are rated exceptionally high in this category and are very affordable. If you have an existing PC, you may be able to just use that, or for very little additional spend, upgrade the video card to a current model to give you more graphics power. The requirements are pretty broad, depending on how deep you want to fall into the game.
 - You may need a USB extension cable, depending on how far your PC/laptop
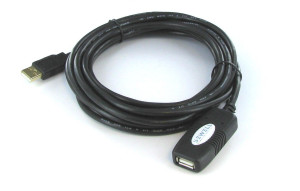 will be from your bike. When you plug in your USB ANT+ adapter, it needs to read the sensors from your bike to pull the data about your speed, cadence, heart rate and so on. If it’s too far away, you’ll get signal dropouts. USB extender cables are very cheap, around $7.00/USD on Amazon. Any will do.
 - An Internet connection
- An account on Zwift. These were free for the last year, but now the product is out of beta, so you’ll have to subscribe to the service to use it. It’s only $10.00/USD per-month (£8+VAT for those in the UK)
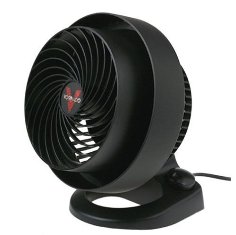
- A fan, because you’re going to work out, you’re going to sweat and you’re going to enjoy every minute of it! You’ll want something with a decent bit of power to keep you cool. I’m a big fan of the Vornado series of fans, because they’re small, quiet and throw a lot of air.
- A towel, because you do not want to be dripping sweat all down your frame and precious metal drivetrain components below you as you’re working out.
Using a Power Meter – PoweredTraining
All the same equipment above applies, except you’ll very likely be using a smart trainer that has some built in sensors, so you may be able to just eliminate those from the list.
- Bike
- ANT+ adapter
- Smart Trainer
- PC or laptop
- Internet connection
- Account on Zwift
- Fan and Towel
Once you’ve got all that, you’re ready to go. There are guides across the Internet describing how to configure Zwift for your trainer, meters, sensors and other equipment so I won’t go into them here.
After you’ve configured your bike, sensors and Zwift profile, you can turn on that fan, grab that towel and start pedaling your way through miles, challenges, achievements, earning new equipment, new jerseys and more!
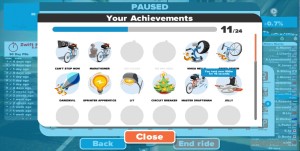
There are also scheduled events, races and weekly social rides (known as “WSR” in the lingo) that you can hook onto and ride along with others. The races get really competitive, so if you’re not used to riding very hard, I’d recommend easing your way into those.
You can also configure Zwift to connect your data to Strava, an online fitness service that can provide you with all sorts of useful charts, graphs and analytics about your individual performance as well as compare your results to that of others on the same ride, virtual or real-world.

Here’s a quickstart video on getting on with Zwift from GCN Presenter Daniel Lloyd:
Good luck!

